

Are you looking to protect your plants, patio, or outdoor space from the harsh sun? A DIY shade net can be an excellent solution. As a shade net supplier, I've seen firsthand the benefits of these versatile products. In this blog post, I'll guide you through the process of making your own shade net, from understanding the different types available to the step-by-step construction process.
Understanding Shade Nets
Before you start making your shade net, it's important to understand the different types and their uses. Shade nets come in various colors, materials, and shade percentages, each designed for specific applications.
Types of Shade Nets
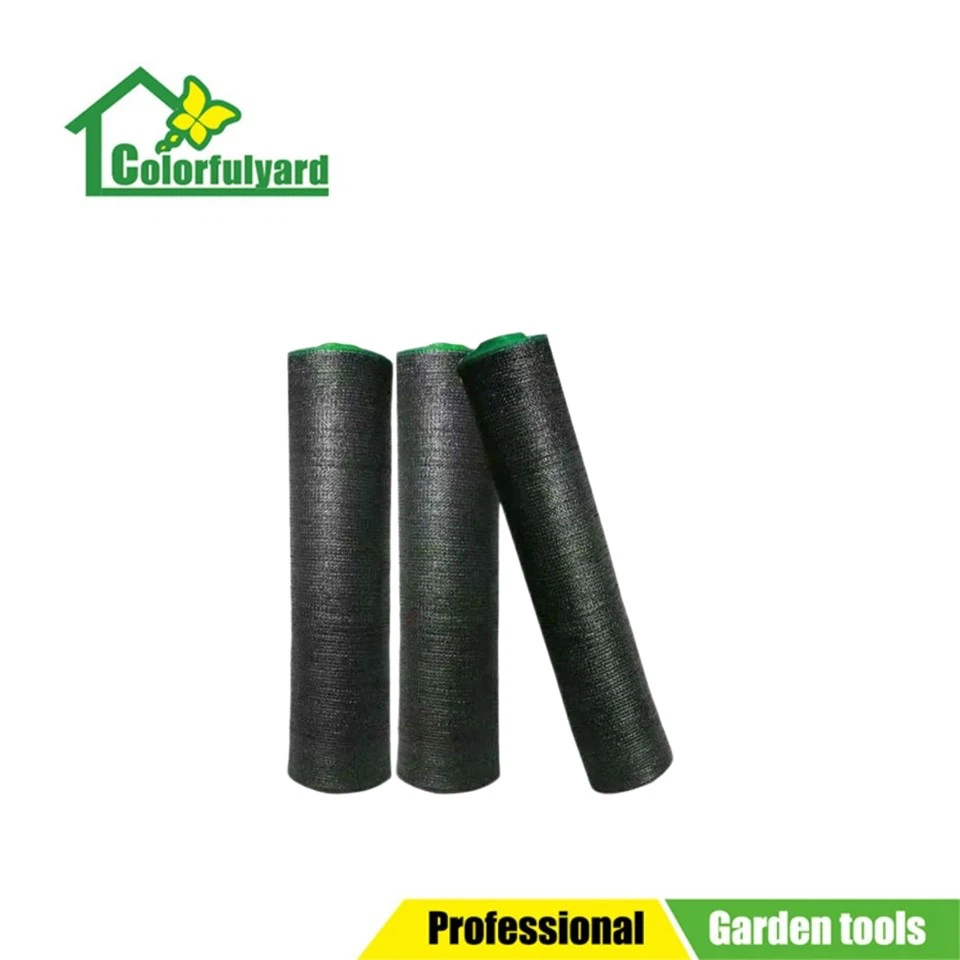
- Black Shade Net: A popular choice for gardening, Black Shade Net is known for its excellent heat absorption and dispersion properties. It can reduce the intensity of sunlight, protecting plants from sunburn and excessive heat.
- UV-Blocking Shade Net: If you're looking to protect your outdoor furniture, patio, or plants from harmful UV rays, UV-Blocking Shade Net is the way to go. These nets are specifically designed to block a high percentage of UV radiation, extending the lifespan of your outdoor items.
Shade Percentage
Shade nets are rated by their shade percentage, which indicates how much sunlight they block. For example, a 50% shade net will block half of the sunlight, while an 80% shade net will block 80% of the sunlight. The shade percentage you choose will depend on your specific needs. For most plants, a 30% - 50% shade net is sufficient, while areas that require more protection, such as nurseries or greenhouses, may benefit from a higher shade percentage.
Materials and Tools Needed
Once you've decided on the type and shade percentage of your shade net, it's time to gather the materials and tools you'll need for the project.
Materials
- Shade netting material (choose the type and shade percentage based on your needs)
- Rope or cable ties for securing the net
- Poles or stakes for support (wooden, metal, or PVC)
- Weights or sandbags (optional, for added stability)
Tools
- Scissors or a utility knife for cutting the netting
- Measuring tape
- Drill (if using poles that need to be secured in the ground)
Step-by-Step Guide to Making a DIY Shade Net
Now that you have everything you need, let's get started on making your shade net.
Step 1: Measure the Area
The first step is to measure the area where you want to install the shade net. Use a measuring tape to determine the length and width of the space. Make sure to add a few extra inches to each measurement to allow for overhang and to ensure a proper fit.
Step 2: Cut the Shade Net
Using scissors or a utility knife, cut the shade netting material to the appropriate size based on your measurements. Be careful to cut the net straight and evenly.
Step 3: Install the Support Poles
Next, install the poles or stakes around the perimeter of the area. If you're using wooden poles, you can dig holes in the ground and insert the poles, making sure they are level and secure. For metal or PVC poles, you may need to use a drill to create holes in the ground and then insert the poles. Space the poles evenly, depending on the size and weight of the shade net.
Step 4: Attach the Shade Net to the Poles
Once the poles are in place, it's time to attach the shade net to the poles. You can use rope or cable ties to secure the net to the poles. Start by tying the net to one corner of the first pole, then stretch the net across to the next pole and tie it securely. Continue this process around the perimeter of the area, making sure the net is taut and evenly stretched.

Step 5: Add Weights or Sandbags (Optional)
If you're installing the shade net in an area that is prone to strong winds, you may want to add weights or sandbags to the bottom of the net for added stability. Simply attach the weights or sandbags to the corners or edges of the net using rope or cable ties.
Tips and Tricks
- When cutting the shade net, use a straight edge or a ruler to ensure a clean and straight cut.
- If you're using cable ties, make sure to leave a little extra length so you can easily adjust the tension of the net.
- To prevent the net from sagging over time, periodically check the tension and adjust the ties as needed.
- If you're installing the shade net in a large area, consider using a pulley system to make it easier to raise and lower the net.
Benefits of a DIY Shade Net
Making your own shade net has several benefits, including:
- Cost savings: DIY projects are often more cost-effective than buying a pre-made shade net.
- Customization: You can choose the type, size, and shade percentage of the net to meet your specific needs.
- Satisfaction: There's a sense of accomplishment in creating something with your own hands.
Conclusion
Making a DIY shade net is a relatively simple and rewarding project that can provide much-needed protection from the sun. Whether you're looking to protect your plants, patio, or outdoor space, following these steps will help you create a functional and effective shade net.
If you're interested in purchasing high-quality shade netting materials for your DIY project or have any questions about our products, we'd love to hear from you. Contact us today to discuss your needs and get started on your shade net project.
References
- "Shade Netting: A Guide to Types and Uses." Gardening Today Magazine.
- "DIY Outdoor Shade Structures." Home Improvement Journal.